
Creating images in Stencil is incredibly easy and fast that you’ll create thousands of images. It’s true. I alone have 2,000 saved images in Stencil. Can you imagine when I have to look for an image that I created months ago? Yeah… not the most productive way to spend my time. What if I told you that you can now create images in Stencil and organize them into neat categorized Collections (almost like file cabinets) that you can easily find to use later. That would be amazing, right?! Well, my friend, today is the day that we unveil the Collections release where you can now organize images and increase productivity with Stencil.
What are Collections and Who Can Use Them?
Think of Collections as your personal categorized file folders. You can name them however you’d like, if you have a special project, ad, campaign, client, etc. Collections are located in the Photos, Icons, Templates, Quotes, Uploads, and Saved Images sections. The best part about them is that they’re available to EVERY Stencil user! (So tempted to create an “Oprah meme” here but too classy to do that.?)
Where can Collections be found?
There are three ways to access Collections in Stencil.
1. You can right-click on a photo, icon, template, quote, uploaded image, or saved images and a drop-down menu will appear with Collections as an option.
2. Access through the drop-down header list from Featured Photos, Featured Icons, Featured Templates, All Uploads, All Saved Images.
3. The three line icon on every photo will give you access to Collections as well.
How to Create, Edit, and Delete a Collection
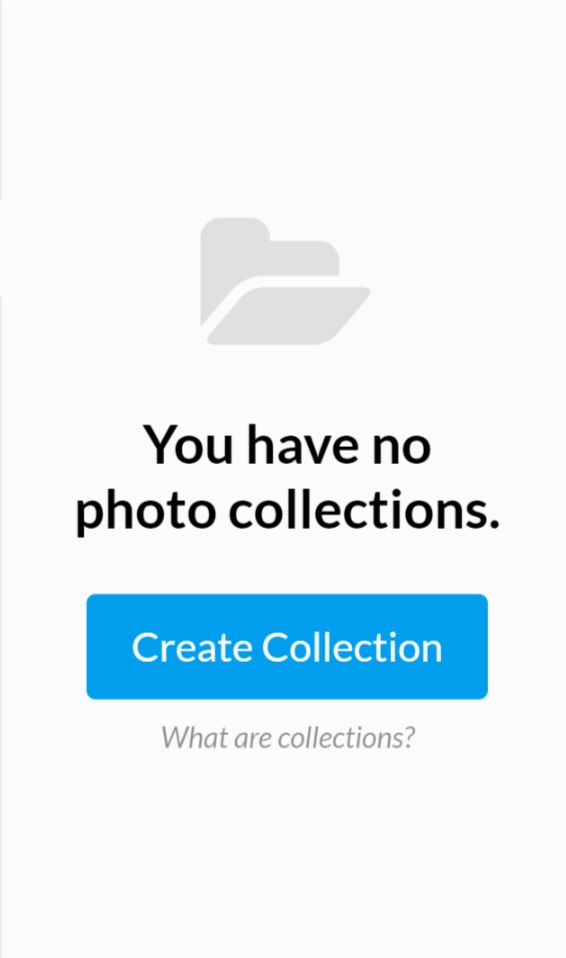
Once you access Collections, you’ll find a button to Create Collections and here is where the magic happens. Name the Collection whatever you’d like.
Create multiple Collections at a time and find them listed immediately. You’ll notice a 0 next to them, indicating there are 0 photos in the Collection (see the image below). Add a photo by right-clicking on it to access the drop-down menu and click on the designated Collection the photo belongs to. You’ll see the number change from 0 to 1.
When you access Collections from the Featured Photos, Templates, and Icons areas you can edit and delete Collections.

The Collections are alphabetized as created, however, if you find certain folders need more access than others that are labeled later in the alphabet we’ve considered that this may be an annoying factor to keep scrolling down the list. The four directional arrow is available to move Collections towards the top in the order that you’d access more frequently.
How to Organize Existing Images
What if you’ve been a long time Stencil user going back to the “Share as Image” days? You probably have thousands of images saved just like me. How can you organize all of those existing images and keep a high level of productivity? This is where the keyboard shortcuts will come in handy.
Go to your Saved Images section and to choose the images that you’d like in the same Collection, you can click on CMD for Mac users or click on CTRL for Windows users. Check it out below!
Now, this method works best when you have to pick and choose in between photos. If you have multiple photos that can go into the same collection, you can use the SHIFT button on your keyboard to select a whole bunch of photos at one time. This will be your time-saver! Watch it in action below.
As you can imagine, once you have all your images in order, all of your visual marketing projects will become a breeze to navigate and edit. You’ll have more time to create images and other areas of your business. Just a bit of a shift will make a great difference!
This also applies to Uploaded images. For businesses with products, authors with book covers, photographers with their own photos this is an amazing feature to get Uploads organized! Especially for agencies or virtual assistants who have multiple clients, you can now have Collections named after each client and have all areas completely organized in Stencil.
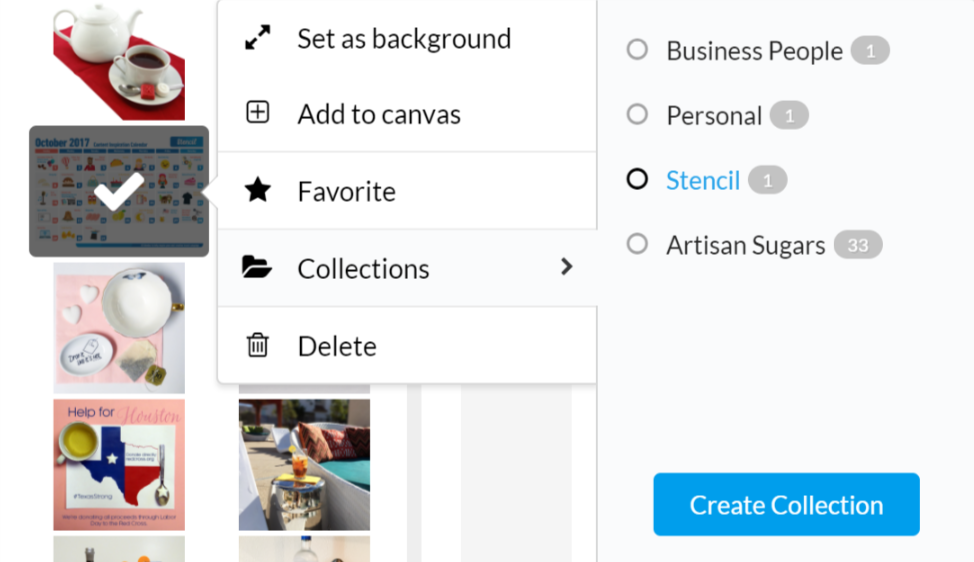
Click on the circle of the designated Collection to add the photo in it. If you click on the circle a second time, it will remove the image from the Collection. If that happens don’t fret, you haven’t lost anything the photos will always be there just re-click the circle.
How will Collections Increase my Productivity
Think of Collections as filters. All photos will stay in the sections and will not be deleted to go into Collections. You’ll find yourself using Collections to be your first step while creating images. For example, if you know you’ll be focusing on a winter wonderland theme for your next project then your photos will be focused on winter themed images. Hopefully, you’ve accumulated some winter photos already or if not you can simply search them and place them in a Winter Collection. As you proceed with this project and create multiple images, you’ll go straight to your Winter Collection and this will save you time without having to search every time.
This also captures on-branding images. If there is a certain look that you need for a particular client or brand, a Collection is ideal to have to maintain those photos so you’ll never stray into other ideas. Less of the shiny object syndrome and more focus on the branding style.
What are your thoughts?!
Will you be taking advantage of Collections? We hope so! This has been the #1 requested feature for a long time now and we’ve worked hard to make it work for all Stencil users.
Let us know if you like Collections or if you have any feedback, let us know in the comments!

This is wonderful! Will there be an associated url with the groups and images? Thanks for one of my go to tools!
URL for collections is: https://getstencil.com/app/saved/collection-name
Love it! Great step forward in organization ?
It would be cool if, when I’m already in a collection and save an image, it was automatically assigned to that collection. (Also, please let us ‘Update’ saved images instead of having to ‘Save’ a new one and delete the old one each time. ? )
Thanks for the feedback Dan! That would be interesting to see how that can be done. Sending these notes to the developer!
You certainly know how to make a grown woman cry (FROM JOY)! 😉
– I’ve not tried Collections Yet, but just reading it, OMG.
– I can’t tell you how many images I created with Stencil. Although I am a Photoshop user, Stencil is my Go To program for creating quick & elegant quote images, promos & mockups, etc.. I had to scroll through the other night looking for a Twitter Cover I created about a year ago. It took forever!
[NOW I can find them in Collections! THANK YOU, THANK YOU, THANK YOU!!! (The Stencil Gods were probably laughing at my efforts as they knew Collections were on the horizon! 😉
– The MOST IMPORTANT thing, besides Stencil being a FABULOUSLY easy & elegant program to use, is that the folks at GetStencil.com LISTEN to the requests of their community. (Have you seen the UNDO/REDO yet? OMG, UNDO & Collections all in a short period of time! My heart is pitter-pattering away! 😉 ~Roz Fruchtman aka @RozSpirations
You’re the best Roz!
Awesome, I appreciate everything you guys do. Keep it up!
Also, are there any plans for an Android app in the works?
Glad you like the new feature! No plans for an Android app at the moment. Always improving the desktop version though!
Oh thank you, thank you! I am so happy that I will finally be able to organize all these saved images according to the projects they relate to. so much time saved! This site is absolutely awesome with the possibilities of posting the images on the various social networks I recently discovered too.Thanks again – you creative men and women really rock!
Great news having the collections. For some reason the bulk add as shown in that image doesn’t work for me. I hold shift down, select all the images, right click on the last image and it deselects everything except for the last one, and only allows me to add the one. Not sure why.
If you still have that issue please email Support at support (@) getstencil.com. Thank you!
Great news and thanks – definitely needed. Can we add images to more than one collection so that it appears multiple times? E.g. adding a child’s picture to ‘Faces’ and ‘Children’ collections?
Fantastic! I just organized all my pictures into Collections. Easy to use.
Fantastic! Glad to hear it was easy to use Laura. 🙂
Been waiting fore this. Thank you!!
I just organised my templates into collections. Wowser. Love it. One question: can we sub divide a collection into sub-folders? That would be even more useful.
No sub-folders at this time, Stella. Great feedback! Will pass that along. So glad you like Collections. 🙂