Ever encounter a link on social media with an incredible headline, not clickbait, but something that genuinely intrigues you but the image is not that great or… there is no image at all (GASP!). I know those links kill me. What are they thinking?! Are you doing that… sharing your blog posts without an image? I hope not. Creating content for a blog can be time-consuming, however, the purpose of the blog post is to have someone read it. The reality of a person seeing a link without an image on social media and clicking it is slim to none, even with a killer headline. That’s why we’re bringing you this quick guide on how to enhance blog images for social media posts so you can take every advantage to promote your blog content. Let’s get started!
Enhance Blog Images for Social Media Posts
1. Branding the Blog Image
First, let’s get started with your featured image. Every blog post must have a featured image. Some people will have the headline or title of their blog post on the image or some people will have an image conveying what the post is about. Think about your branding colors and images of your blog. Stick to 2-3 colors, 2 fonts, and particular images you’d use (icons or photos or color background).
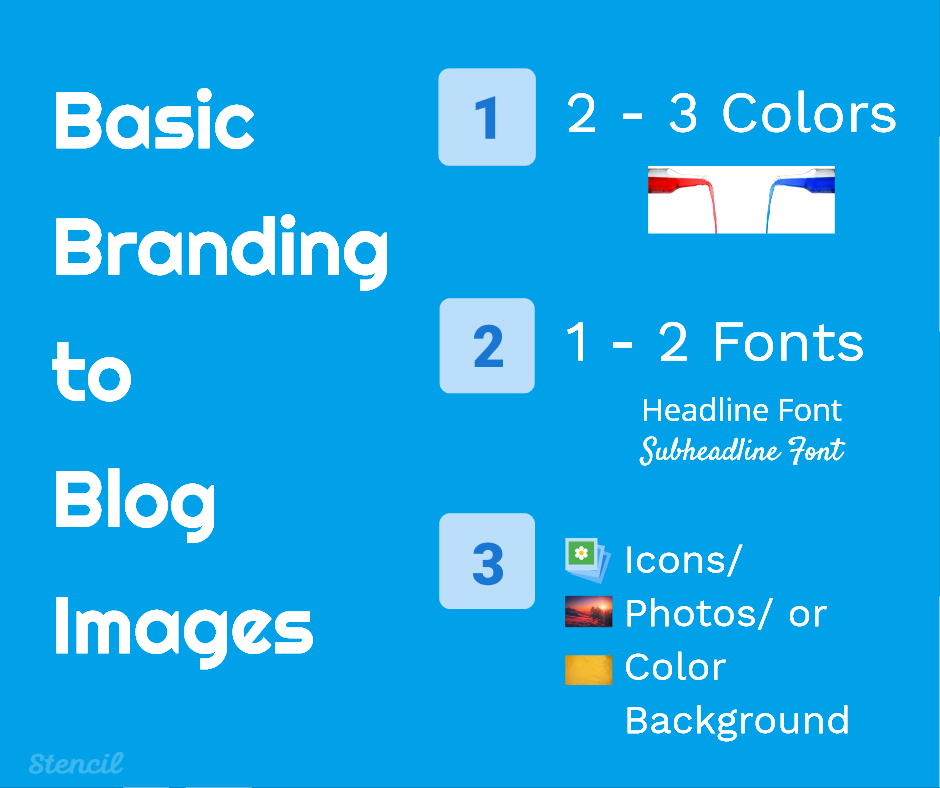
When you brand your featured images it becomes much easier to create in the future. The process becomes faster, so for people who say this takes up too much time, well this first part may take a bit of time to gather some essential information but after this, it becomes easy breezy. Do not skip the branding part. Believe me, you won’t regret taking these steps! If you have not officially done your blog brand with a graphic designer you can quickly capture the basics of this action plan below.
ACTION PLAN:
Capture your Brand Colors
What colors do you tend to lean towards when creating images and what emotion do you feel? Yes, I said emotion. If you haven’t read about color psychology before be sure to check out this post for details. Find 2-3 colors that you feel comfortable using all the time and you know you can stick to for your blog images. Here are some websites that can help you choose color palettes:
These are great sites because they usually have palettes already selected so you can see the colors together plus the HEX codes are available. Most of the sites allow you to download the color palettes you choose so you can have it for your own record.
Action: Type your HEX code into Stencil and your color-ready!
Fonts
Typography can be a scary endeavor for some because it really can make or break an image so picking out the “just right” font can take time. But please don’t overthink it! Here’s a basic rule for non-designers – the simpler the better. Pair your fonts as if they truly fit together. Imagine them on a magazine cover. Would you style a headline with small letters and your subheadline with large letters? No. Don’t make it fancy either. Do you see any cursive script on headlines? No. You will see script font for subheadlines in many cases though if it’s to provide emphasis to the headline.
Stencil already provides a variety of fonts and direct access to Google web fonts. If those don’t suit you, then upload your own font! Again, don’t try to be fancy just pick 2 good quality fonts.
For example, if you were to choose from the Stencil list, a quick no-hassle way is to choose a favorite font and make it bold as a headline. Then use the same font again without making it bold for the subheadline. In the case below, we’ve used the font named Poppin.
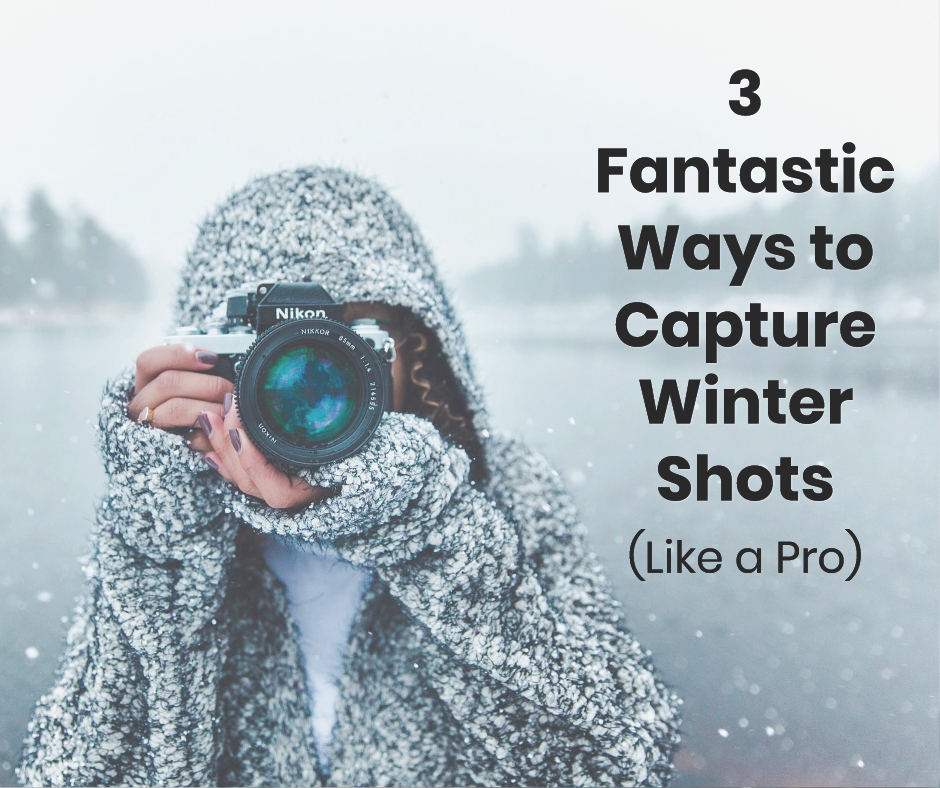
Super easy! Now to add a little more pizzazz, use a script or non-traditional font for your subheadline for emphasis. You can use Poppin as your headline font and Rock Salt for the subheadline (see the image below).
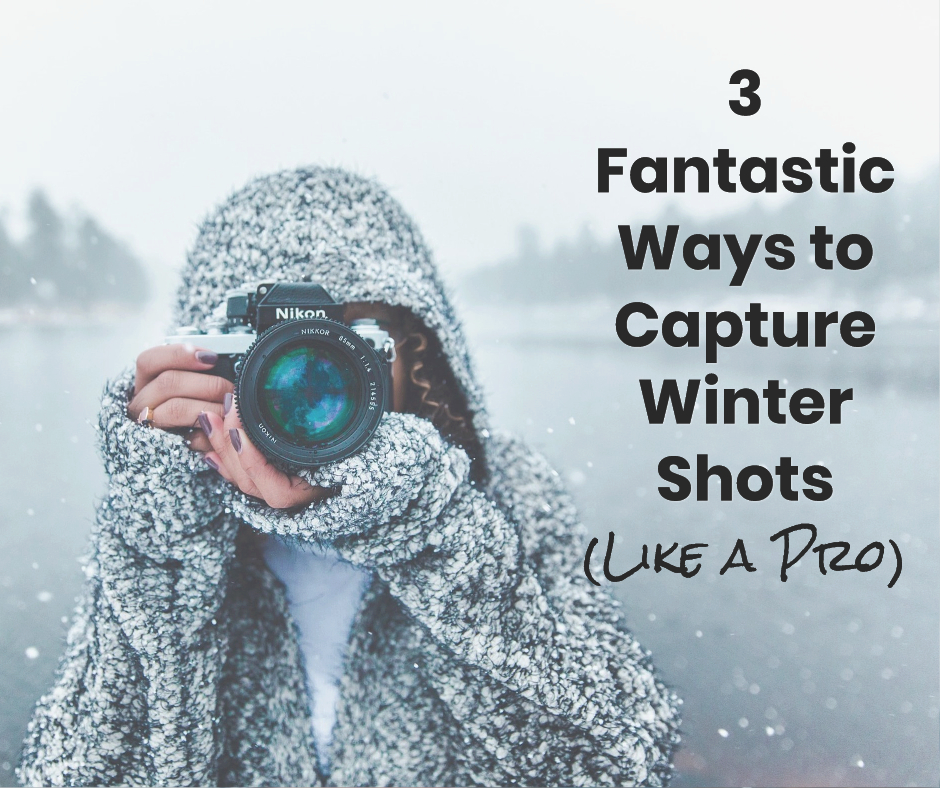
See the difference? Both images look great and depending on the audience, you can probably figure out which subheadline followers would like best. You may want to do a test and see which image gets more views.
Action: Pick out 2 fonts to work within Stencil.
Image Background
What kind of image background would you like to use and stick with each time you feature your blog post? Think of it as your stylesheet or instructions for your featured image. Some people love to have icons as their featured image and never use photos at all. Some people need to have photos but have to have specific filters set like Clarity or Hefe. Some people like the simplicity of a color background. This is where you can really create your featured image your own and it’s exciting! (Sorry, I really geek out on this stuff. )
Here are a few examples of a blog post topic about book marketing:



Remember to use your logo or website URL to watermark the image and leave it in the corner or off to the edge so everyone can see the lovely image. There are so many variations you can try to complete your image. Keep note of your style or save it as a template in Stencil to reuse over and over for each featured image.
Action: Choose your image style!
2. Provide Different Types of Blog Images
Providing various size blog images gives the reader a choice to choose what image to share. Hopefully, you’re using a social media sharing plug-in on the blog that keeps visual marketing in mind. Here are a couple of WordPress options:
What many people forget to do is to have a long vertical pinnable image ready for pinning for Pinterest users. Please if you’re blogging, you should be using Pinterest and letting people pin your blog posts. It’s fantastic for bloggers! Some people don’t like to have such large images on their blog posts but there’s a trick to hide images on blog posts. Although it may be hiding on the blog post, when you click on the share button for Pinterest a pop-up window will display all the images related to the blog post even the hidden ones. You can then choose whichever images you’d like to pin.
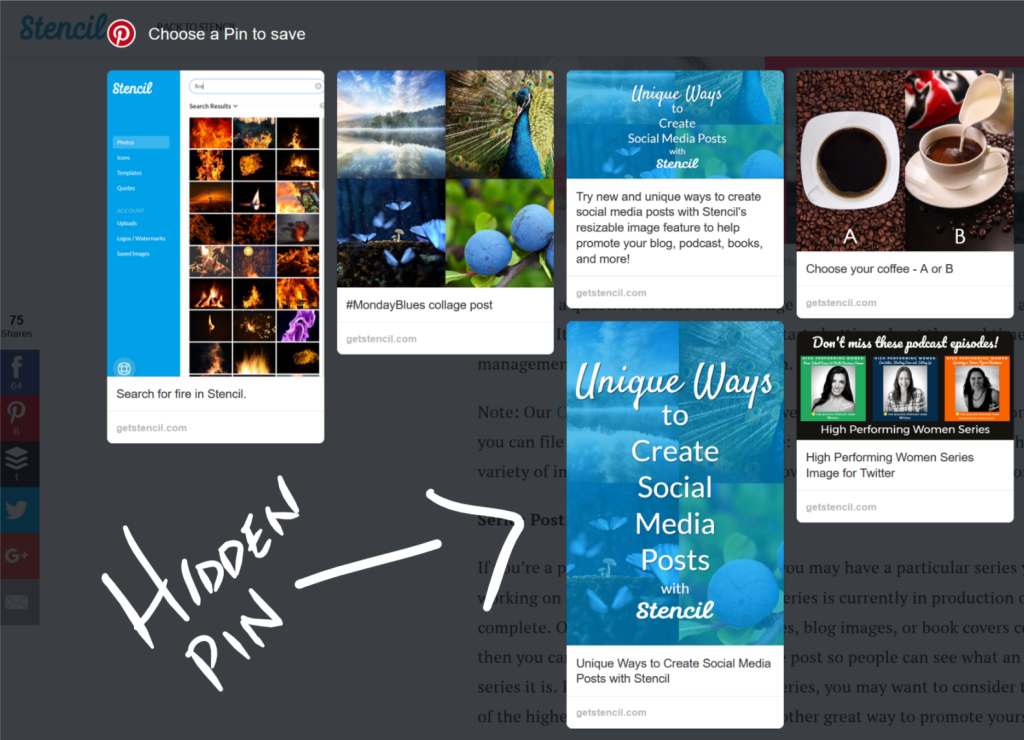
Sneaky, huh!
This code is the Google-friendly one where it’s letting Google know you’re not really hiding an image but you have one specifically designated for Pinterest.
First, pick an image you’d rather not have pinned from the blog post to Pinterest. You’ll use this image to use the code to hide the long vertical pin image. (Using fake image source and URL in the example below but these are the areas where you would enter your own information.)
Areas to complete:
<img src=”_______________”
alt=”____________”
data-pin-url=”___________”
data-pin-description=”_______________”
data-pin-media=”_______________”/>
<img src=”https://website.com/wp-content/uploads/2017/11/blog-title-name.png” alt=”Use Keywords or Blog Title” data-pin-url=”https://website.com/blog/”data-pin-description=”Enhance your blog images for social media posts with this quick guide. #bloggingtips” data-pin-media=”https://website.com/wp-content/uploads/2017/11/Long-Vertical-Pinnable-Image.jpg”/>
Copy and paste the above code to notes or somewhere on your computer. Delete the areas within the quotes and replace with your image source, alt text, data pin URL, data pin description, and data pin media file. Then copy and paste where you’d place the image onto your blog post in the Text area and save.
The main image that you don’t really want to be pinned will remain on the blog post. When readers click on the Pinterest button to pin they won’t see the main image and will have the long vertical pin image as an option to pin. This is the best way to hide a pinnable image that is Google-friendly.
Every blog is different and may have a different format for featured images, however, the Blog Post Feature size in Stencil is 1,200 x 600 and that usually works out best for most blogs. If you have most readers on Facebook, try using Facebook size images so they can easily share those. If most of your readers are on Twitter, the Blog Post Feature size works out perfectly as the shared image. Again, using the plug-ins that specialize in social sharing will help maneuver correct images for the specific social media platform.
3. Naming Your Blog Images
It almost makes me want to cry when I see an awesome blog post and I’m ready to pin an image and the image name pops up with IMG2988830… GRRR! Please take the two seconds to name your images. It’s best to name it before you upload it into your Media file in your blog and once it is in your Media file, take the additional step to name the ALT text. If it’s a featured image then use the title of your blog post. If it’s not a featured image, describe the image as if someone is searching for it online. For example, if the photo had a cat with kittens, name the photo exactly that “a cat with kittens”, unless there is a particular reason to be more specific.
This is especially important for Pinterest, the ALT text that you name or describe is then listed as the description for the pinned image. With that in mind, when naming images have SEO as a top priority and include the blog title.
Are you ready to enhance your blog post images?
There’s a lot of information here so let’s recap! Branding your blog images is going to be the best thing you do once you get those action steps completed which are: picking out your colors, choosing fonts, and your image styles. Consistency is key. Keep using the colors, the fonts, and image background of your choice and you’ll find it will be super easy to create a featured image for each blog post plus people will recognize your social media posts. They’ll say, “Hey! I keep seeing posts from this lady who uses purple overlay and occasionally yellow. That’s pretty nice. It keeps getting my attention.” or “Hey! There’s that dude who keeps using a red background with icons all the time.” People tend to notice consistency, branding, and authority.
Give people image options, please! People like to pin stuff a lot but they won’t pin tiny images or horizontal images. Pinners want long vertical images to pin. Please take the time to make a pinnable image for each blog post even if you are not on Pinterest. You’ll be surprised by the traffic you can get from Pinterest.
Pretty please with a cherry on top, name your images something that describes the image. Image SEO is real.
I hope these tips will be helpful to you and will enhance your blogging experience.
Which of these tips will you take on as a blogger? Are you already doing these enhancements? Let us know in the comments.



Great post. I think you are missing some of the code in the code example for hiding the pinterest image. 🙂
Glennette Goodbread, Certified Search Marketing Specialist
Premium Web Development LLC
Thanks Glennette! The code should work by copying and pasting directly into the text area of your blog. Just replace the media file and change the ALT text then it’ll work. 🙂
Great tips, love the color palette tools! I can be really bad about naming my images and adding good ALT text, thanks for the reminder. 😉
Love the color palette tools too! I kind of get lost in them though because I can play with colors all day. A bit of a rabbit hole for me! Glad this post was a good reminder for you, Meghan. 🙂
Great post! But I’m a little confused. You said, “With that in mind, when naming images have SEO as a top priority and include the blog title,” But you also said, “Pretty please with a cherry on top, name your images something that describes the image.” Does this mean give the image the name of your blog title plus something that describes it? Thanks!
Hi Lynn,
I apologize for any confusion. You can just use the blog title name, however, if you have time to add a brief description that would be helpful as well. Think of keywords that would help people find your blog post. For example, with this post I felt comfortable using the blog title image only but I could’ve added – Learn image branding, blog SEO tips, and visual marketing skills.
Hope that helps!
Thanks,
Lillian
Okey doke! Thanks so much, Lillian. Oh, and cool about hiding an image. 😀
Great article! The websites you provided for color pallets will come in handy. Every time I need a color, I have to search it in google because being color blind no es bueno. But these sites I can choose the colors and see the hex code already. Also, I do name my images, and use alt text, but never have named an image as my blog post, which I should have been doing. As I mentioned….Great article and thanks for sharing. I learned something new today 🙂
Glad you found this post useful Carlos! 🙂
Hey my friend. I love your enthusiasm for all things image! I know that “hide your pins” code is all over, but Google frowns on its use, as spammers use that kind of code to hide keywords. The right way to do it is “data-pin-media”. I wrote it all out over on Brainy Marketer. ?
Hey there friend! That makes me so sad. Those dang spammers have to ruin everything. LOL I’ll be in touch with you for the new details so I can update this post accordingly. Thanks Louise!