So, you’ve just written an awesome article.
The content is perfect. You’ve formatted it to look like Michelangelo himself designed it. And you just can’t wait to get it online. It’s already shaping up to be the perfect viral blog post.
But, before you can feel the sweet release of hitting the submit button you’ve got one final job left to do. You need to find your featured image.
Damn. That’s where it all starts to unravel, right?
Compared to the rest of your post, you don’t feel like giving this anywhere near the same amount of attention. You’re happy to say, “Yeah, that’ll do!” and slap it on there.
But by doing that, you’re doing that awesome blog post a disservice. You’re throwing away almost 40 times more social shares and missing out on making this your most viral blog post ever, than if you’d taken a little more time and chosen the right image.
So in this article I’m going to show you some simple steps that will get you from wasted image, to beautiful viral blog post in just a couple of minutes.
Step #1: Sourcing Your Images (For Free)
The Internet is crawling with amazing images. But a lot of them you just can’t use. That means knowing where to look for these images can save you a lot of time, effort and letters of complaint from angry Tumblr users.
And if you can get those images for free? Man, that’s even better.
Here’s the only three places we recommend looking for your images:
#1 – Compfight
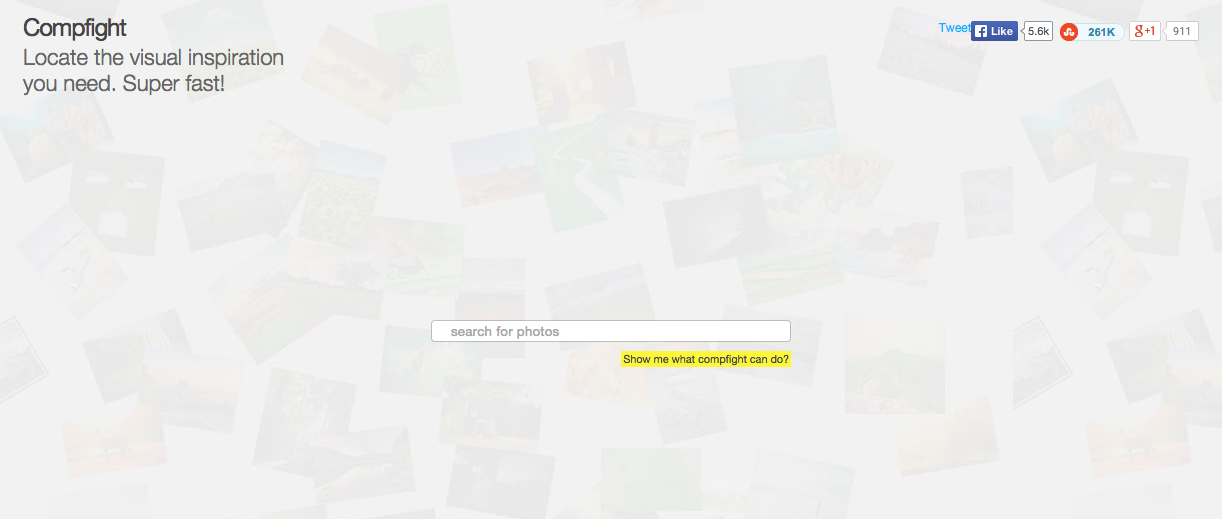
Compfight is basically Google for Flickr. You search an image or keyword, and it’s bound to find it.
To narrow this down to own free images, select the ‘creative commons’ tab from the side panel.
That will show you only the images that you can use on your post, as long as you give a little nod to the photographer at the bottom.
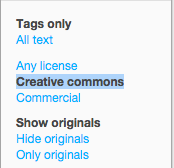
#2: Unsplash
Unsplash is my favourite place to find high-resolution photos for free. This is art in its purest form, and you can do whatever you want with the images once you download them.
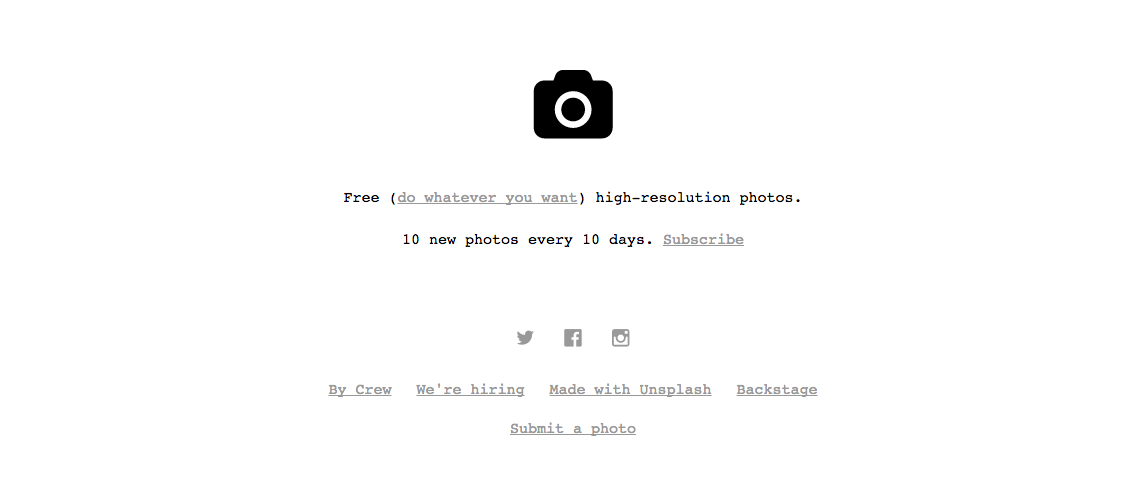
#3: Share As Image PRO
All of the images on Share As Image Pro are free for you to use. That means for $8 a month you get over 1000 high-res images for absolutely free. There are no $1 hidden charges on top.
And with everything all in one place you can get 84% more click through’s and shares in half the time.
Step #2: Choosing The Right Image
What makes the right image? It’s not always just the one you think looks good.
In fact, it comes down to three elements:
- Image Quality: Does it look good? It’s a simple question, but if your image is grainy, pixelated and misshapen, you’re not going to attract any attention.This is a little bit of a balancing act, because the higher the resolution, the slower it is to load. I’d suggest playing around with a few images on your own theme and seeing what loads at the right speed.If it looks clear and crisp, and loads in a second or two, you’re onto a winner.
- Relevance: Does it fit your blog? An occasional off-topic picture wont hurt you. But try to stay consistent with your brand. Your bespoke furniture blog doesn’t really need a picture of a baby in a cape.
- Image Size: You should aim to get your image – or use WordPress to resize it – as close to 500x500px as possible. This means it’s easily adaptable to all browsers and screen sizes.
Unless you’re really good – like the guys over at Dappered.com – I wouldn’t recommend taking your own photos for your featured image. Inside the post feel free to do whatever.
But if you don’t know the difference between a fish-eye and telescopic lens, leave it to the pros.
Step Three: Adding The Perfect Text
Your image doesn’t need text.
But, we find that it’s really effective if you do add it. You just need to look at the fact that Infographics are 40x more likely to get shared to see that even just a little text goes a long way.
There are four components to having the best text possible on your image:
- Emotion: It should make your reader feel something, even if it’s just by grabbing their attention.
- Relevance: Just like the image itself, the text needs to fit what you’re saying.
- Relatable: Like good observational comedy, it should be something the reader can relate to – that’s relevant to your topic.
- Easy to read: If they can’t make it out, what good is it?
Whilst I can’t really help you with the last three component, I can show you how to make your image that bit more emotional…
Making Your Text Emotional
There are two emotions you really want to build this around – and they come from scientifically research principles of sharing, by Jonah Berger – Shock and Awe.
If you can scare someone, or make them feel incredible, you’re on the right tracks. To keep it simple, focus on these two styles:
- Quotes: Not only are quotes super shareable, they’re also guaranteed to create an emotional response in someone. There’s a reason, ‘Clear eyes, full hearts; can’t lose’ made Friday Night Lights such a success.
- Stats: You might not think of statistics as emotional, but seeing something like, “By doing this you’re 73% more likely to…” is going to grab your readers attention.
Both are small enough to fit on an image. Easy to read. And, they’re always relevant and relatable.
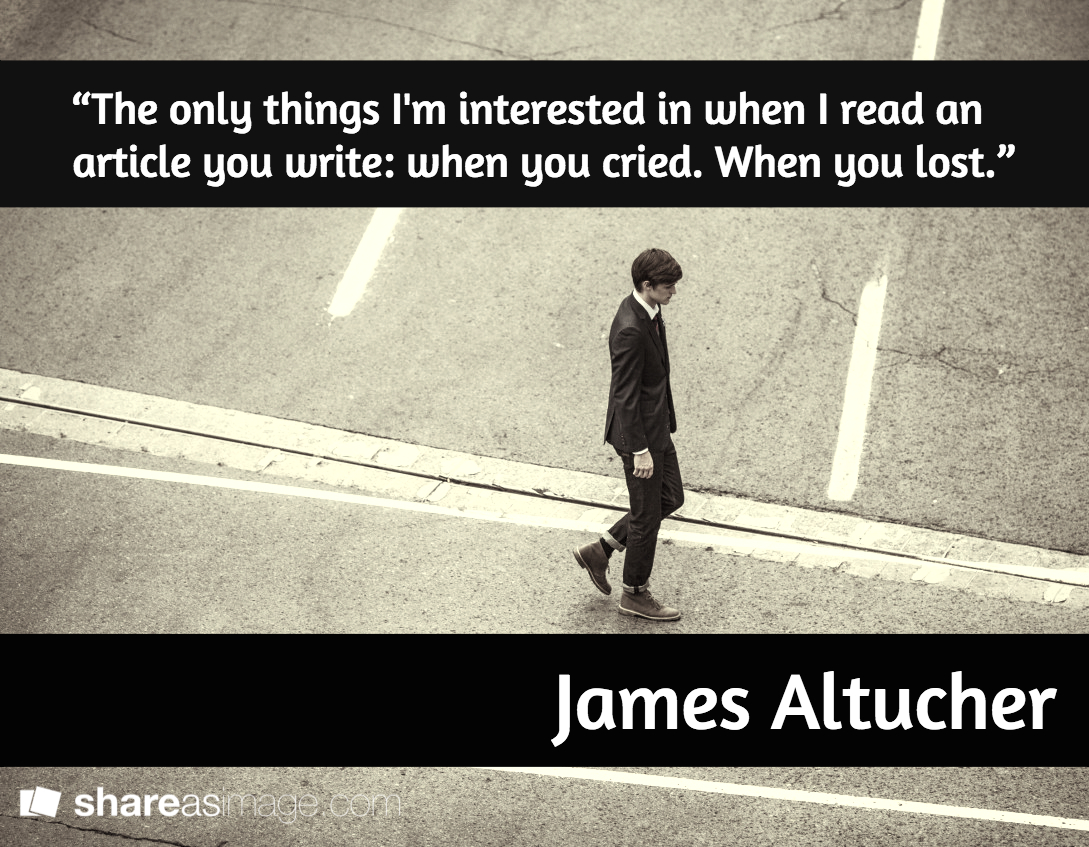
For example, here’s one I made about blogging:
Now, It’s Time To Share It…
How much simpler is choosing an image now?
You know where you’re looking. What you’re looking for. And little tweaks that can make it instantly more viral.
All that’s left to do now is get it online! What are you waiting for?
Oh, and if you make any images using this method and Share As Image, don’t forget to share them with us in the comments or over on Twitter!
I do not know the stuff is better, or the tips! Thank you very much! 😉
You’re welcome buddy! Anything you’d like to see in the future? 🙂
Great post. Big fan of Pixabay for great images as well.
Thanks Justin! I’ll keep Pixbay in mind for the future 🙂 Don’t forget to share the article if you loved it.